Vintage and vintage inspired holiday assemblages are a very popular trend right now so I decided to give it a try. I went ham this year on thrifting vintage Christmas items and now am ready to give those items a new life.
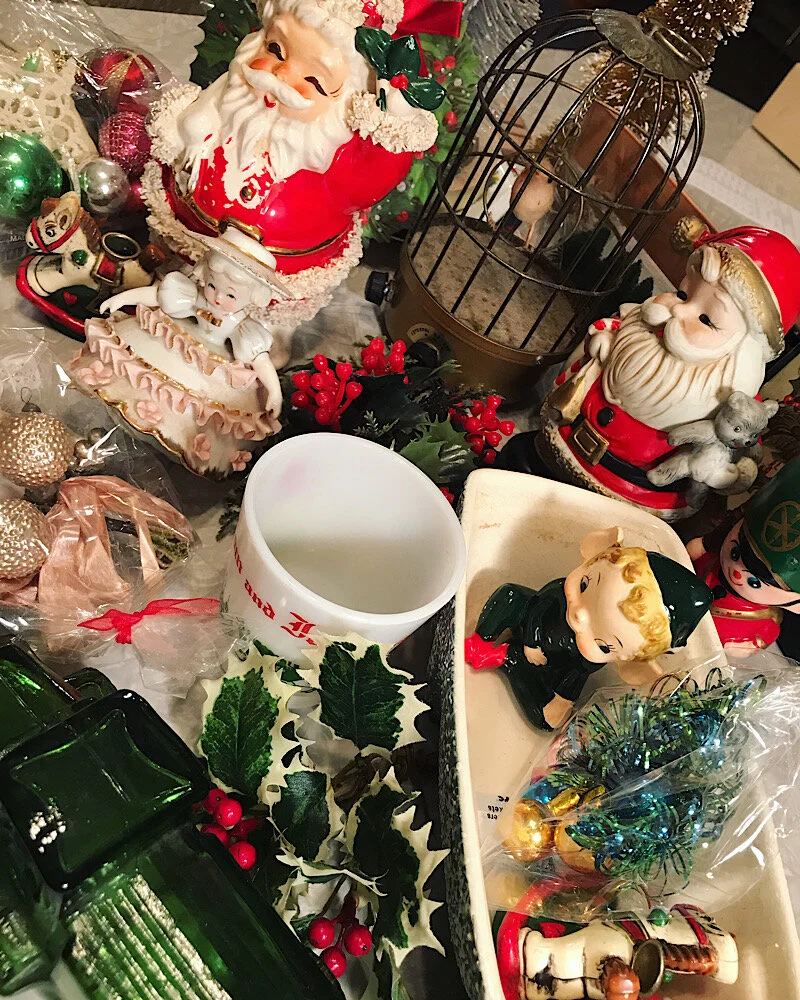
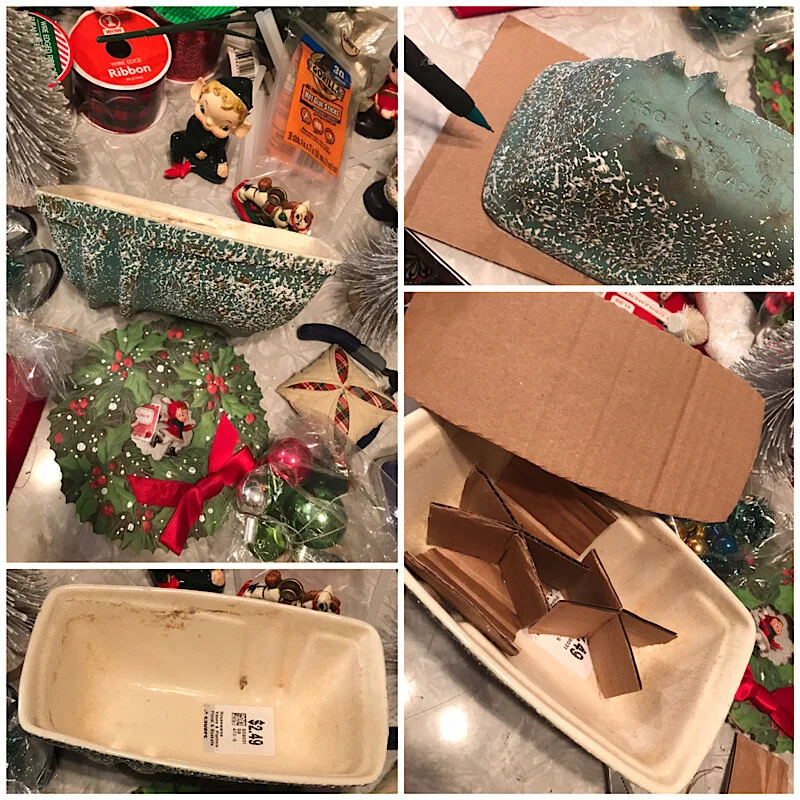
Here is a little overview of the fun vintage items I picked up for these projects. I picked up lots of little vintage figurines, a bunch of vintage items as bases for the figurines to be displayed on/in, and all sorts of bits and bobs to fill up the space.
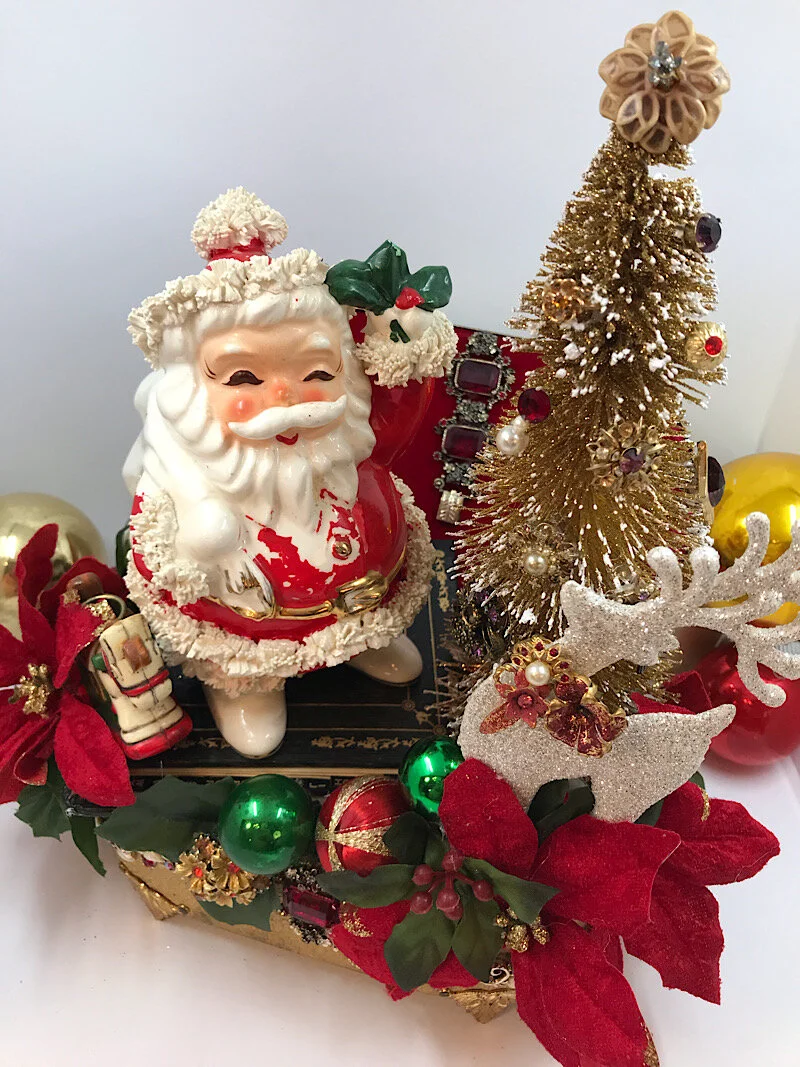
Large Santa Assemblage in Vintage Jewelry Box
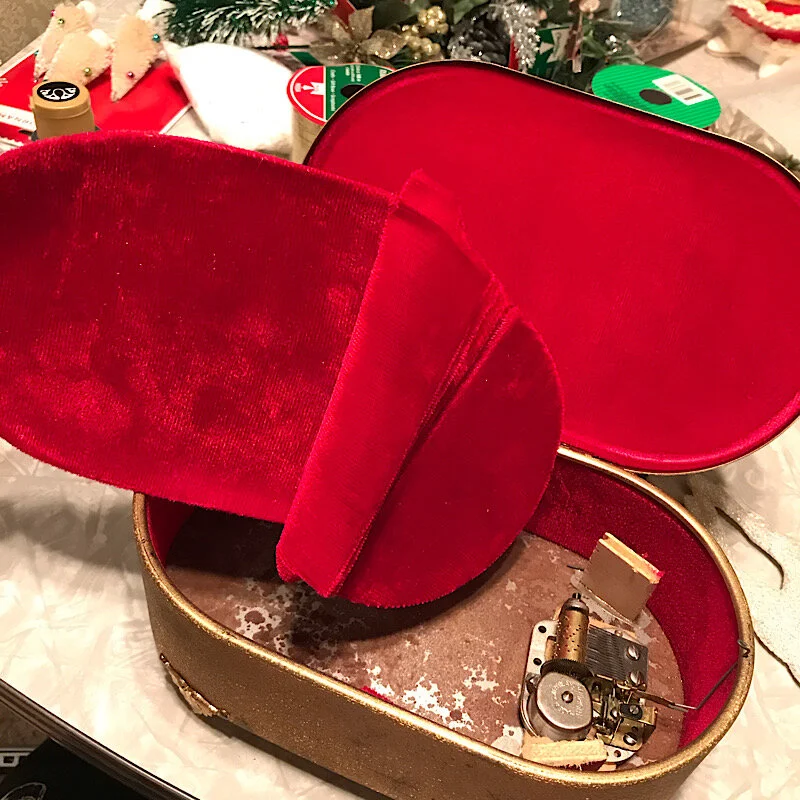
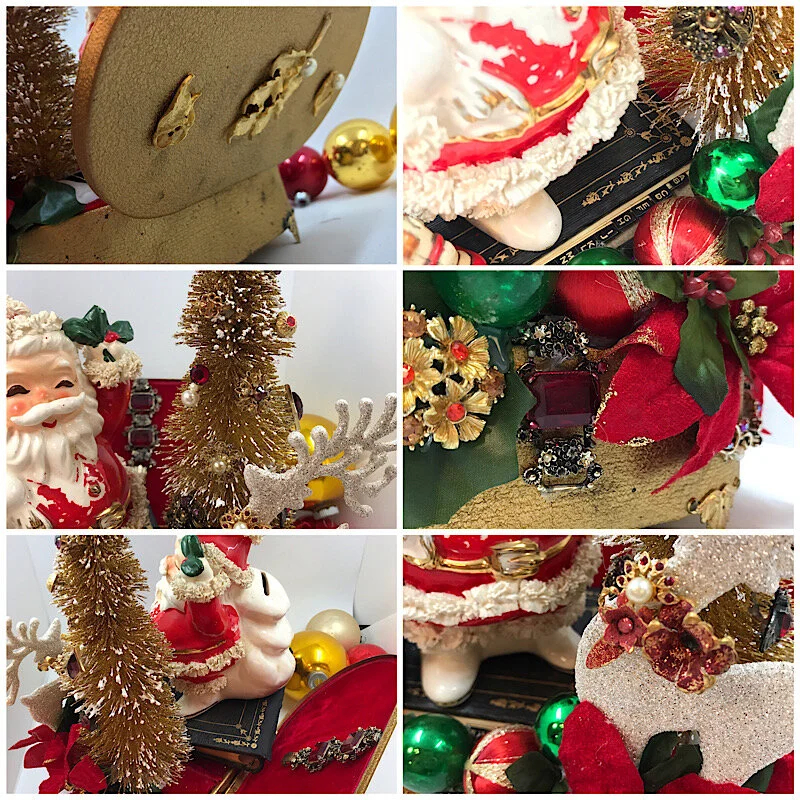
My first attempt was the largest one I would make. The main items included were a damaged gold music box that no played music, a 1950s ‘spaghetti style’ Santa, a vintage address book, broken jewelry pieces, a bottle brush tree from Target, some ornaments and other little thrifted trinkets, and some other greenery from the dollar store.
Most items were going to be used just as they were except the jewelry box and the address book. I ripped apart the jewelry box and made a flat base for the assemblage with cardboard and hot glue.
I also touched up the address book.the original owner had it held together with tape that left a white residue on the spine and I wanted the whole book to be nice and black.
The entire project is held together by hot glue. I did use some wire to make sure the deer was secure and hid that with flowers.
I was ecstatic with how it turned out! I couldn’t be happier. I really enjoy art projects that have no rules and this is one of them. Here is how it turned out!
Here are some closeups on the various parts. A flat image doesn’t do it justice since you can view it from all sides.
Elf Assemblage in Vintage Midcentury Planter
The next assemblage I made was inspired by a little vintage elf figure one I found at a local antique pop-up, Haupt Antiek Market. He was such a great price and I knew I wanted to do something with him. I then found a green Midcentury planted at a thrift store for only $2.49 and in my mind I kinda knew how I wanted the piece to go.
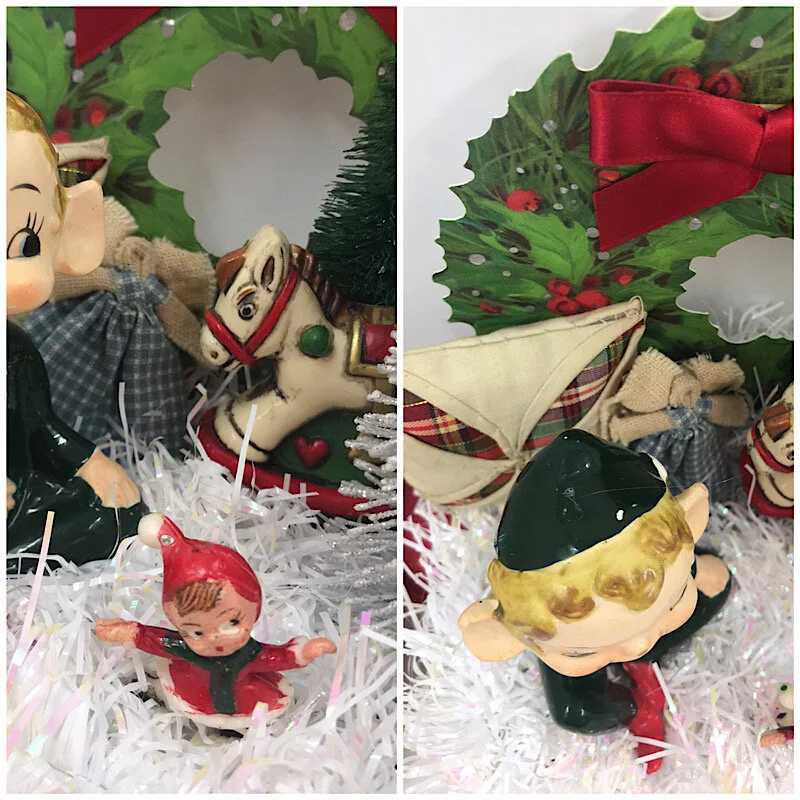
I built the base out of cardboard just like the first one. I used the planter to trace out the cardboard floor and trimmed it down a bit to make it fit. It is all held together with hot glue and the garland and the large bottle brush tree are the only items on this peice that aren’t second hand and vintage.
My favorite little hidden part of this one might be the little holiday pillow behind the elf. It was an ornament but with the scale of all the items it looks like the little elf is about to lay back on his holiday pillow while he plays with all the toys around him.
Pink Lefton Girl in Teacup
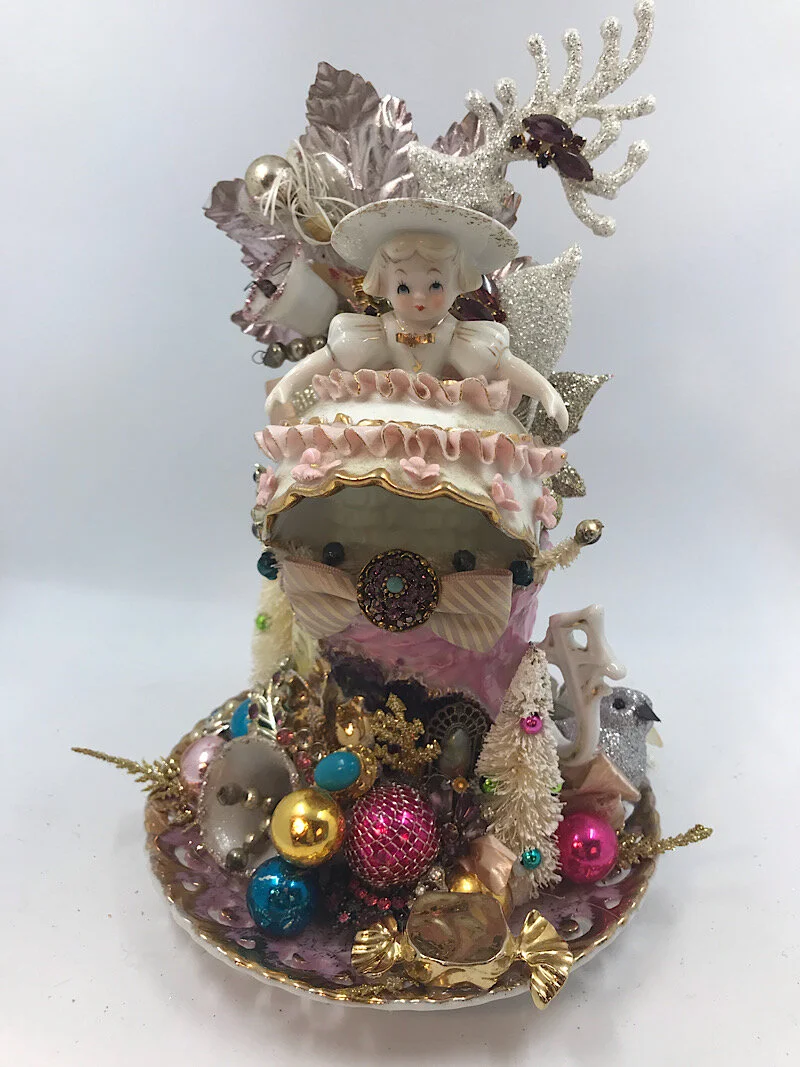
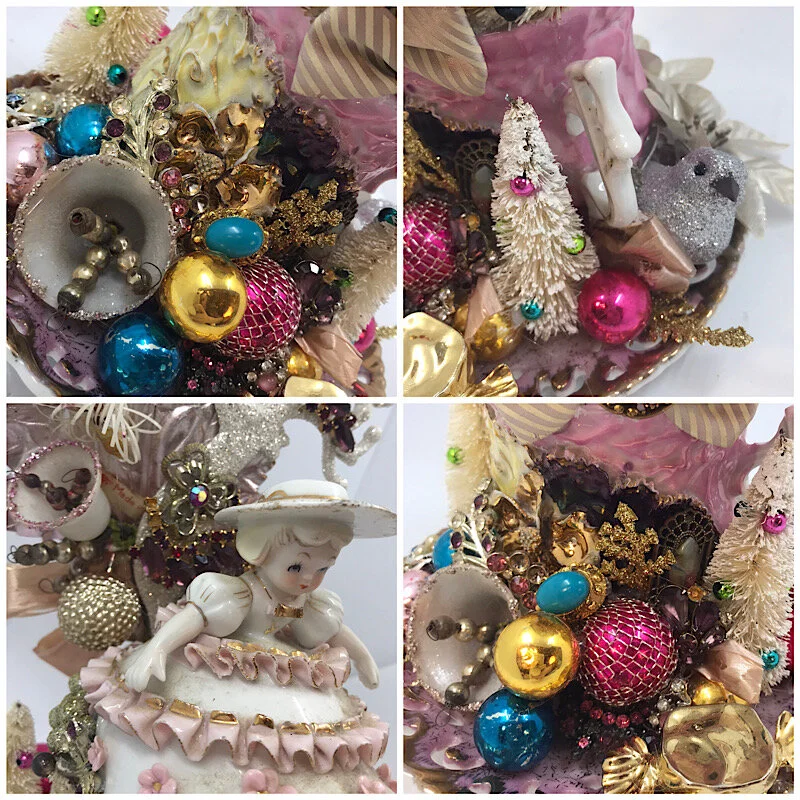
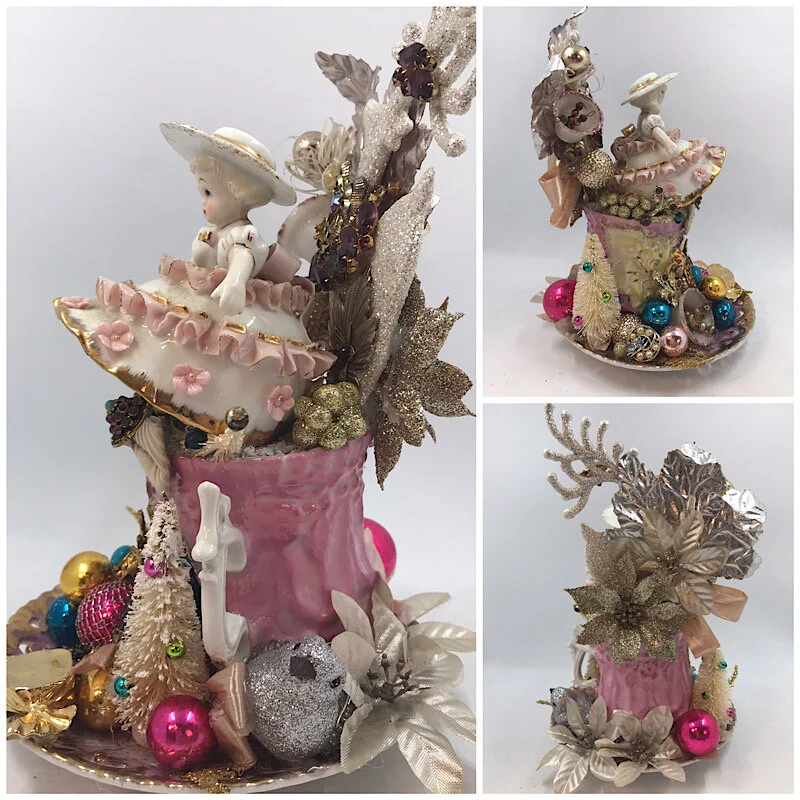
i just love this one! I found a broken little Lefton figure one with damage on her bow and flowers and since she has seen better days I think she is perfect for an assemblage. I started with a gorgeous teacup from Germany, a pink plate, a white little deer I thrifted, some broken jewelry, and a vintage corsage.
When it all came together it was an absolute sparkly girlie pink dream! She is shimmery and sparkly from every direction. I just adore her!
The next assemblages I put together in a YouTube video to give people an idea how they come together. To see me put the together check out my YouTube channel.
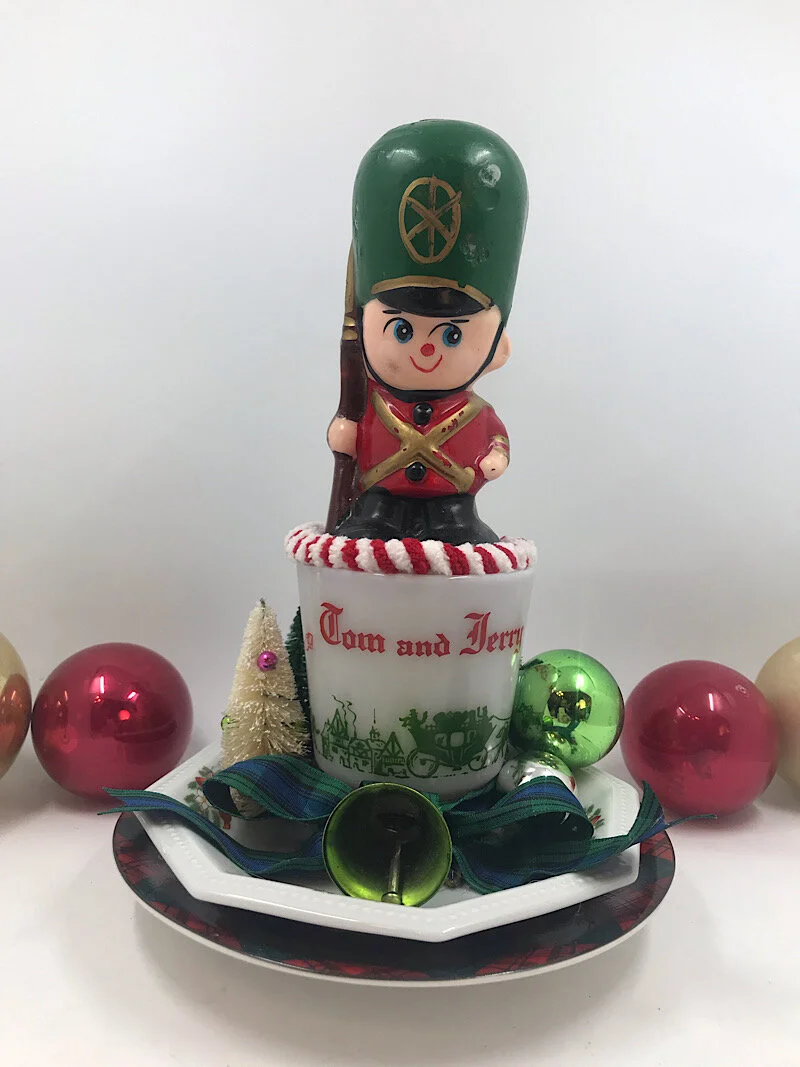
Toy Soldier Candle on Tom and Jerry Cup
This one turned out so cute! I am past the point of no return and am now addicted to making these.
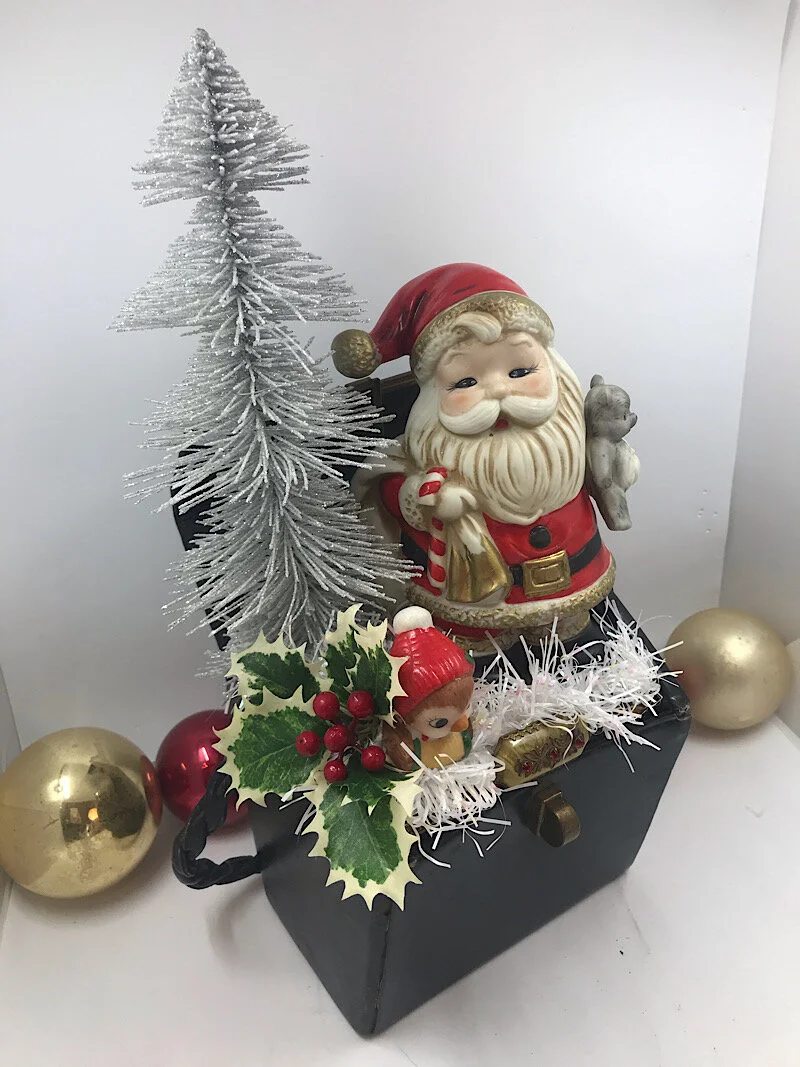
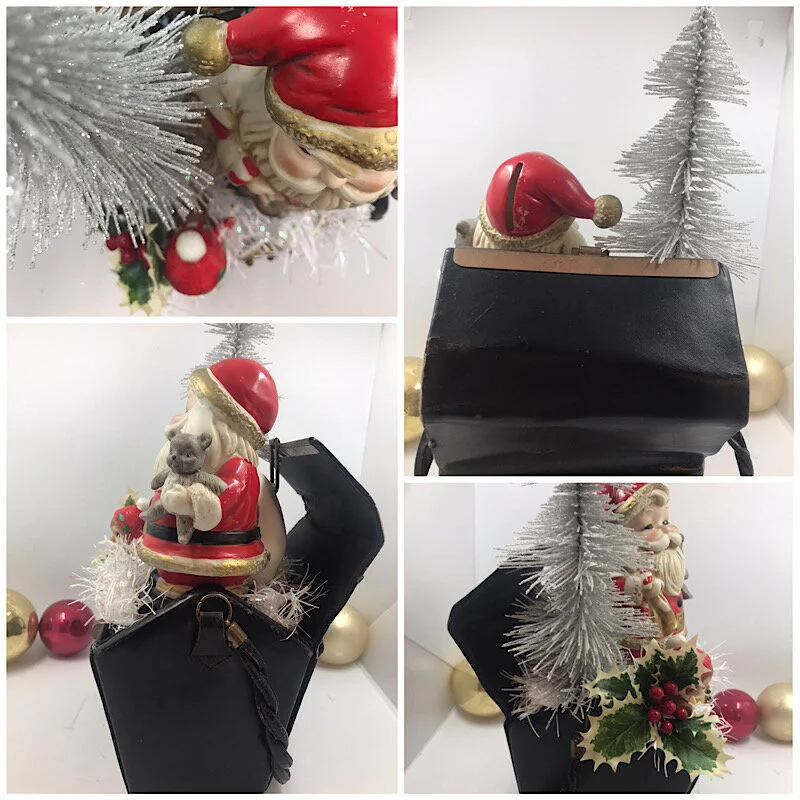
Vintage Santa in 1950s Purse
I got this vintage purse from a sweet little old lady on Craigslist for free. It was her’s from her youth. I made sure that the assemblage could be easily be removed so the purse could be used later. I think this one might be the best one I have made so far, but then again I just love vintage purses! I love knowing her old purse was given a new life.
I hope these assemblages inspired you to possibly make your own. My words of advice are to make sure you have way more hot glue than you think you will need. I went through much more than I thought I would. And I also recommend using scratch and dent items. Give items a new life. Old damaged items will look amazing when put together in these assemblages. To see a bit more of how I put together the last two check out my YouTube video!
Happy crafting everyone!
